This short tutorial explains how to set up the ATMega168 (or 326P) Xplained board to work with Atmel Studio. It is also shown how to program the chip and enable debugging.
Atmel Studio 7
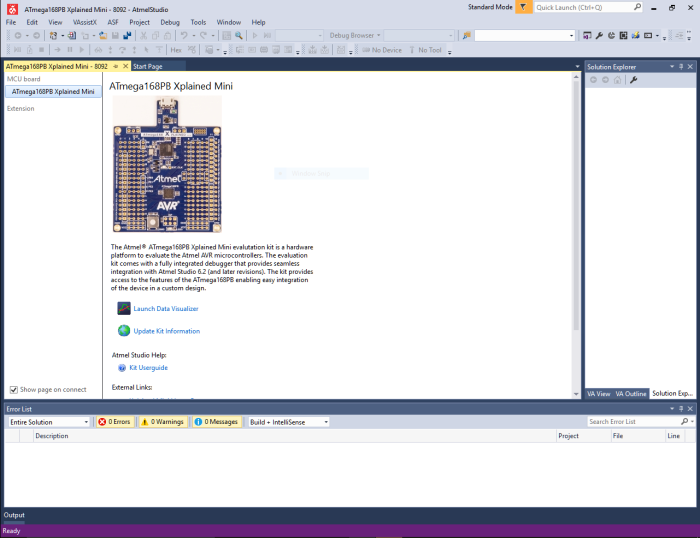
Opening Atmel Studio 7 and plugging in the Xplained board will open the tab containing key information about the board. Here you can find links to datasheets, of both the microcontroller and board, and get quick accesses to the Atmel published tutorials. The start tab provides an easy way to open existing projects or start a new one.
Creating a new Project

To start a new project select either “New Project…” from the start tab or use “File > New > New Project…”. In the New Project dialog shown above select “C/C++” and “GCC C Executable Project”. Enter a name and save directory then click ok.

Upon creating a new project you will be asked to assign a device to the project. For this select the model of microcontroller you wish to program, in this case the ATMega168PB. Selecting this will finish setting up the project and create a “main.c” file for you to enter your code.

Although you are now ready to begin writing your code there is one final step that is required to upload the code to the microcontroller. A programming tool must be selected which can be done by clicking the “No Tool” button and entering the correct tool from the drop-down box. In our case we want “mEDBG” and the “debugWIRE” interface, this will use the built-in programmer/debugger of the Xplained board.
To program the board without debugging the hollow green triangle can be used.
